
For some unknown reason, denim has a special place in my heart. Maybe it's my 70s Uni days. Maybe it's that my mother abhorred it to the point that when I bought my first pair of denim jeans with my own hard-earned cash, I had to hide them in my bottom drawer and secretly stroke them ... but NEVER wear them.
Sad, but true! Ladies did not wear denim. And certainly not denim with a fly at the front! Ladies wore pants with zips at the side or the back. Zips at the front were only worn by THOSE types of girls. And, yes, my precious Levi's were soon discovered and removed from my possession.


Thus, I become distressed when I wander through the swathes of no-longer-loved and hardly-ever-worn denim apparel at my local Salvos. Jeans, skirts, jackets, shorts, vests ... bought with, perhaps much excitement, then cast aside when jeans suddeny had to be thinner ... or wider ... or lower ... or denim had to be darker ... or lighter ... or ripped.
I have to up-cycle denim. Re home it. Relove it.
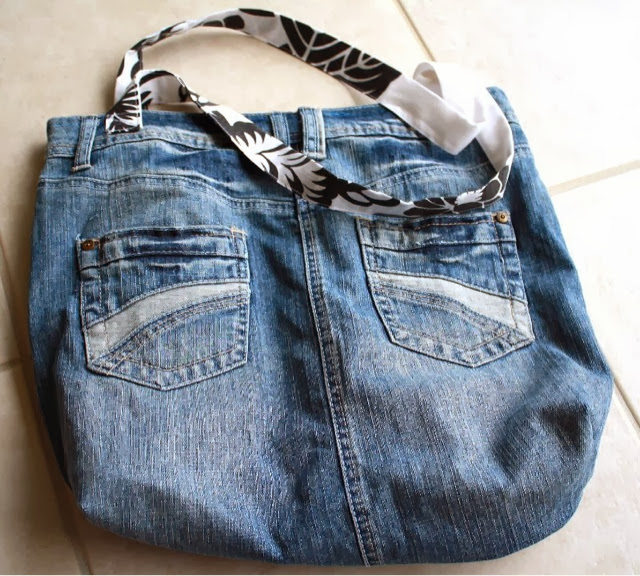
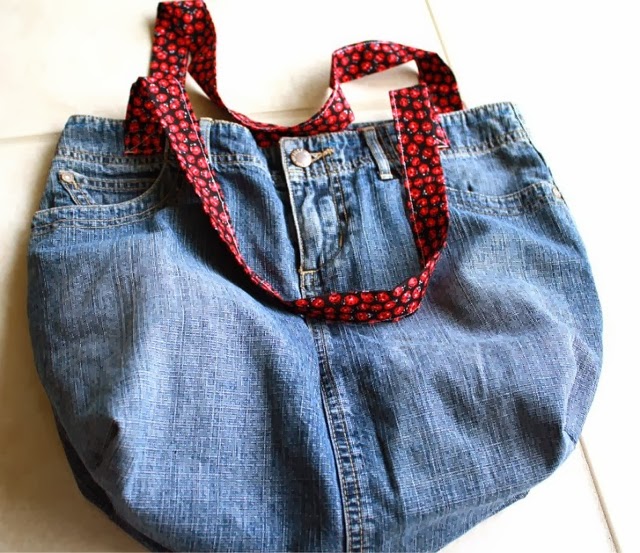
And, hence, the hippy-dippy denim shoulder bag was born!
Easy peasy to make. A shoulder bag. A carry bag. A green bag; even though it's blue.
So, to begin, take one Salvos denim skirt and, in my case, one Salvos pillow case ($1! That's very cheap per metre.) for the lining of the hippy-dippy and let's begin.
If you like to measure things, you can measure the width and length of your skirt and cut your pillow case or fabric, which ever it might be, to match.
Me, I lie the pillow case on top of the skirt and snip away.

Now, it's time to start sewing. You'll see I used my over locker to do a lot of the sewing as it makes it easier, quick and secure.
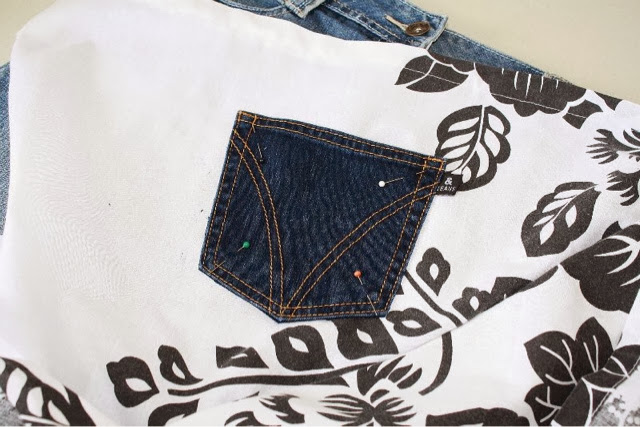
I like to add a pocket to the lining to place treasures like glasses, phone, keys. I usually snip a pocket left over from a pair of jeans I've already up-cycled. You could form a pocket from left over lining fabric, but I like that the jeans' pocket stands out and is easy to see inside the finished hippy-dippy.

Now it's time to turn the skirt inside out and stitch across the bottom. Similarly, turn the lining inside out and stitch both sides and base.
And to form the base of the shoulder bag ...
Still with the skirt inside out, fold the base seam so that it lines up as closely as possible with the one side seam. It won't be perfect because the back of the skirt will be larger than the front (as bottoms are generally bigger than stomachs).
Measure about 8cm, or, in my old-school ways, 3 inches, and mark across, like in the photo below.
Measure about 8cm, or, in my old-school ways, 3 inches, and mark across, like in the photo below.


Do this for both ends of the bottom of the skirt and the lining. Then stitch across. This forms the base of the hippy-dippy.


Turn the skirt right sides out. It's starting to look like a bag.
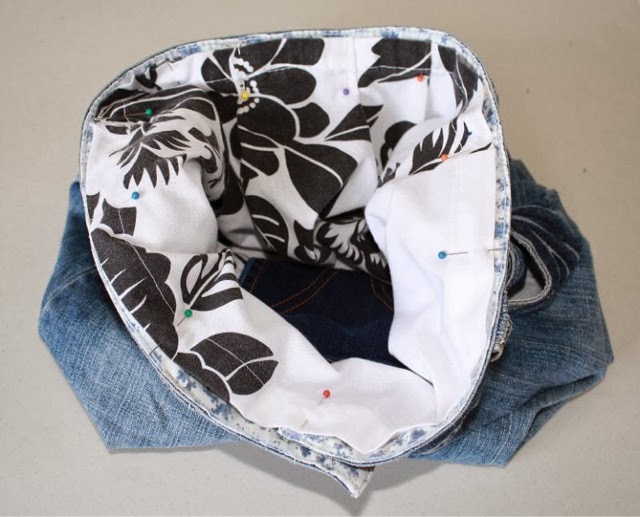
Turn over a small amount at the top of the lining and give it a quick iron, then place the lining inside the what-once-was-a-skirt.
Pin the top of the lining to the skirt about 1cm below the top of the skirt's band. (If the skirt has a fancy inside band you might want to keep that visible and hence pin your lining just below the inside band.)
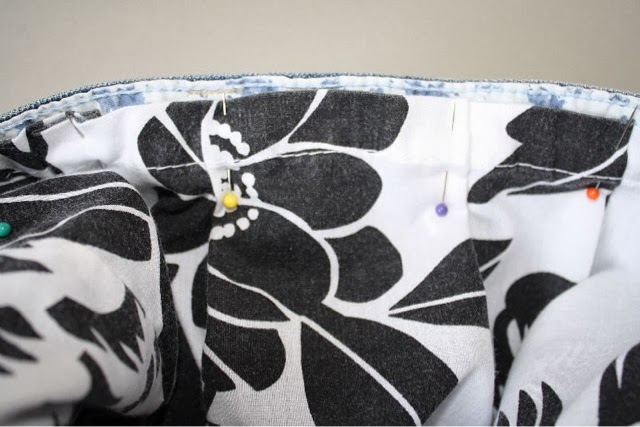
Sometimes the top of the lining is larger than the top of the skirt as the skirt shapes in towards the waist. To compensate for this, I pin from the centre front around to almost the centre back on both sides, then form any extra lining into neat pleats close to the centre back of the skirt.
Stitch the lining to the skirt. Be careful of metal studs and buttons; they'll break needles. Yes, I did it again! Stop stitching and jump over them. The lining will still be secured enough even with a couple of breaks in it.

Hippy-dippy is nearly finished!
It's now time to make the handles.
Cut two pieces of remaining lining fabric, 12cm wide by 65cm long. Fold in half width wise and iron.
Open out, then fold towards the centre line your ironing created. Iron along the outside edge of the new fold line.

To make the ends neater and easier to sew, I tend to open out the end, fold over a small hem then fold the outer corners into the new crease line. I think the photo makes it easier to understand!

This makes the ends less bulky and helps make a neater finish.
Then stitch the handle along the outside edge: across one short end, along the length, then across the final short end. Repeat for the remaining handle.

Now, position one handle where you think is best on the front of the hippy-dippy. I usually find outside the front belt loops seems to work. Pin in place. Match up the other handle on the back of the hippy-dippy and stitch securely in place.
The photo shows what I do at each end of the handles. Make sure the handle is stitched on securely; it may be under stress at times.

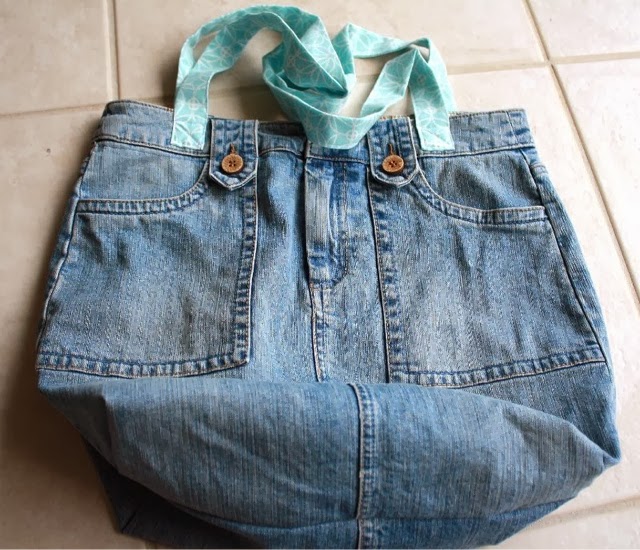
Ta da! Your hippy-dippy denim shoulder bag is finished!

Plenty of pockets, inside and out.

Lined in fabric to suit its recipient.

If you really wanted to hide something precious, you could undo the zip and slip your precious in between the denim and the lining. Very sneaky.
I thought the band on this skirt was a little funky, so I stitched the lining below it.

Stars, a fringy bottom and vintage caravan fabric for me!


Time to go shopping with your new shoulder bag!
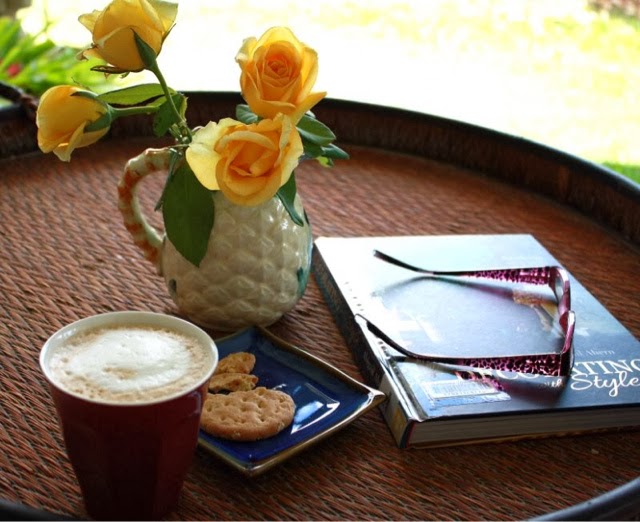
Or ... maybe time for a coffee break.
Linking up with
Thanks for reading my blog post. I'd love it if you'd leave a comment below for me to read.


Social Icons