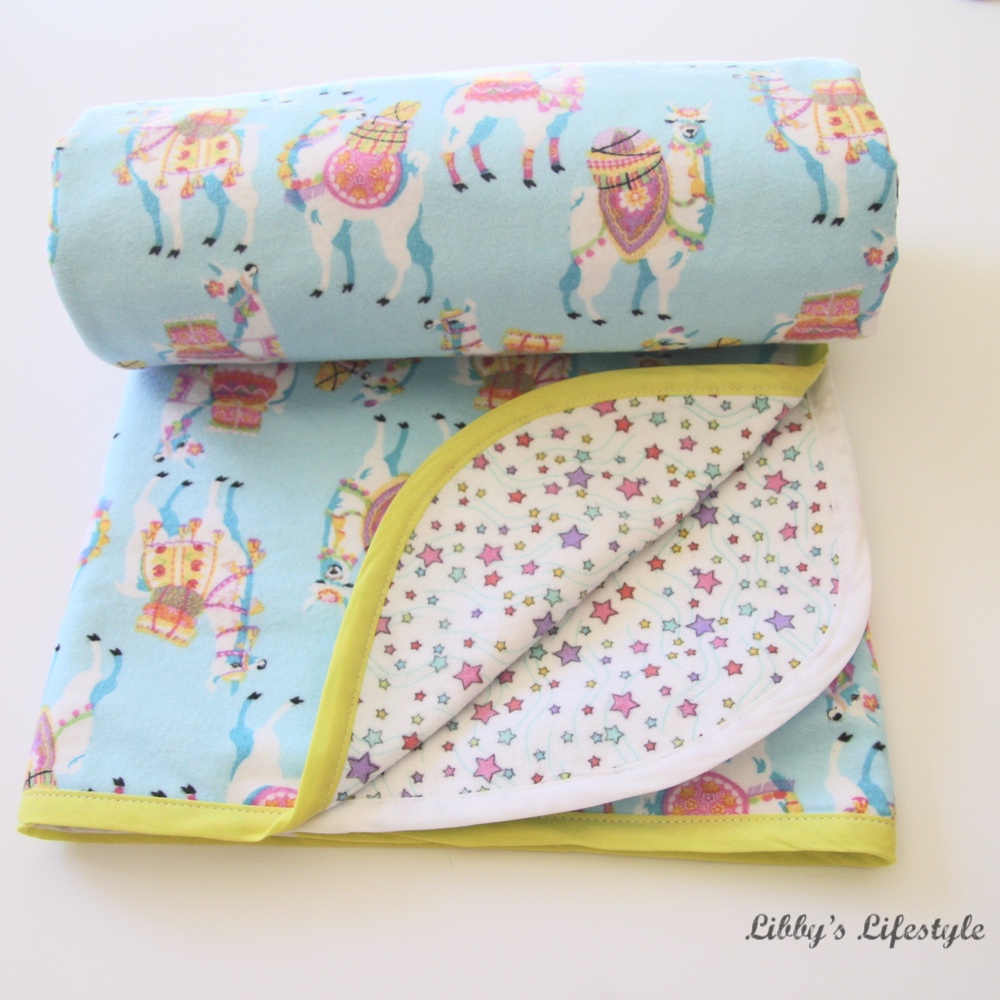
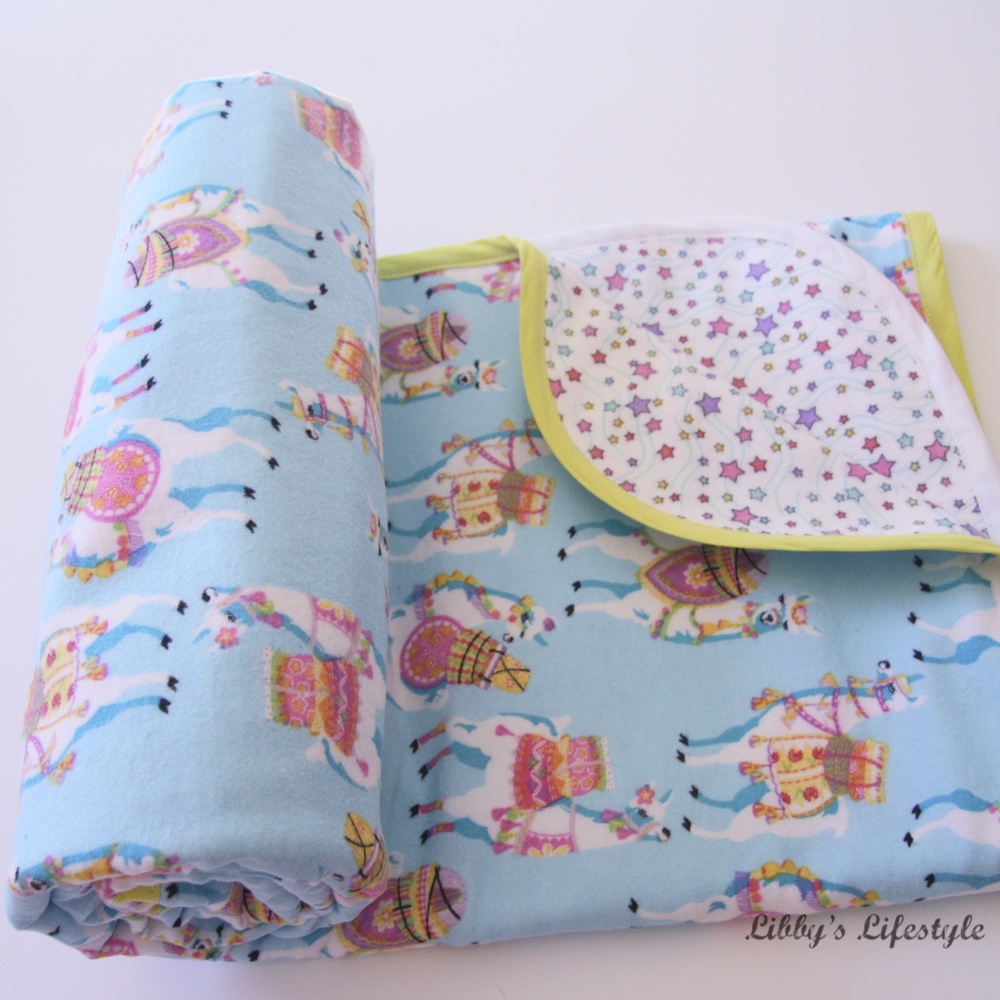
Who doesn't love a new baby, smelling of milk, cooing contentedly, snuggly swaddled in a cozy flannel receiving blanket? Especially a llama covered flannel receiving blanket. And guess what ... our family is at the cusp of having a brand new baby! No ... not me. MLP is about to become a Poppy for the second time and I'm about to become a Step-nanny again. So, for this new girl, yes, she's going to be a girl, or any new born, what better gift than a llama covered receiving blanket?
If you have little time, maybe a morning or an afternoon, a little bit of sewing experience, but not necessarily a lot, a receiving blanket is sooo easy to make.
A bit of cutting, two rows of stitching and you're done! Couldn't get much easier.
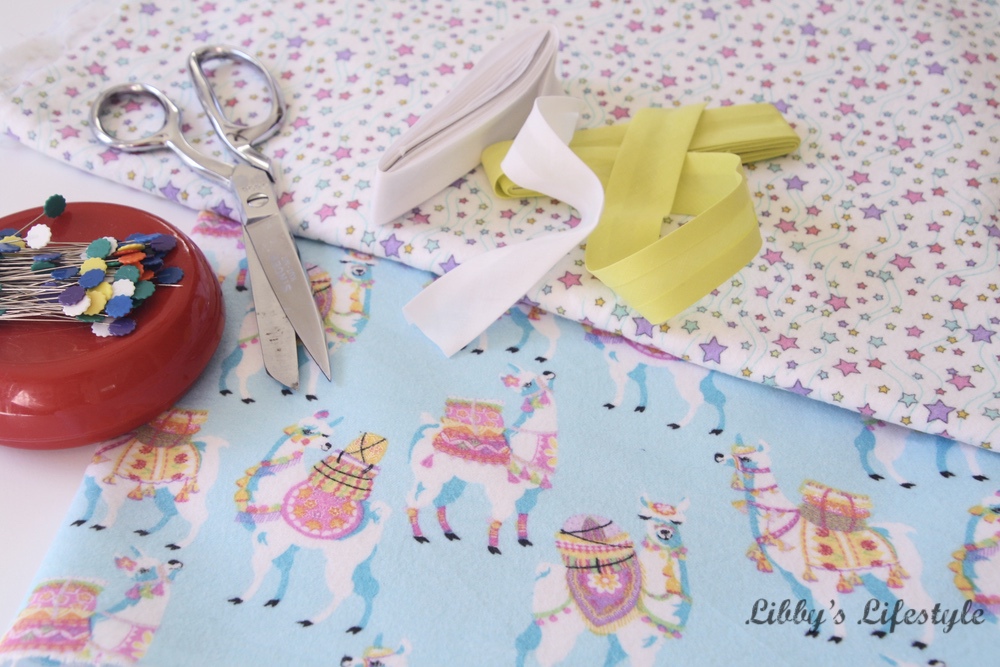
So, what do you need?
- 1.3m (50") of two complementary flannel fabrics
- 5.5m (6yds) of 25mm (1") bias binding
Supplies in hand, it's time to begin.
I pre-washed my fabrics. This is not something I would normally do, but because I was binding the edges of my receiving blanket, I thought it might be wise. I wasn't sure about flannel and shrinkage.
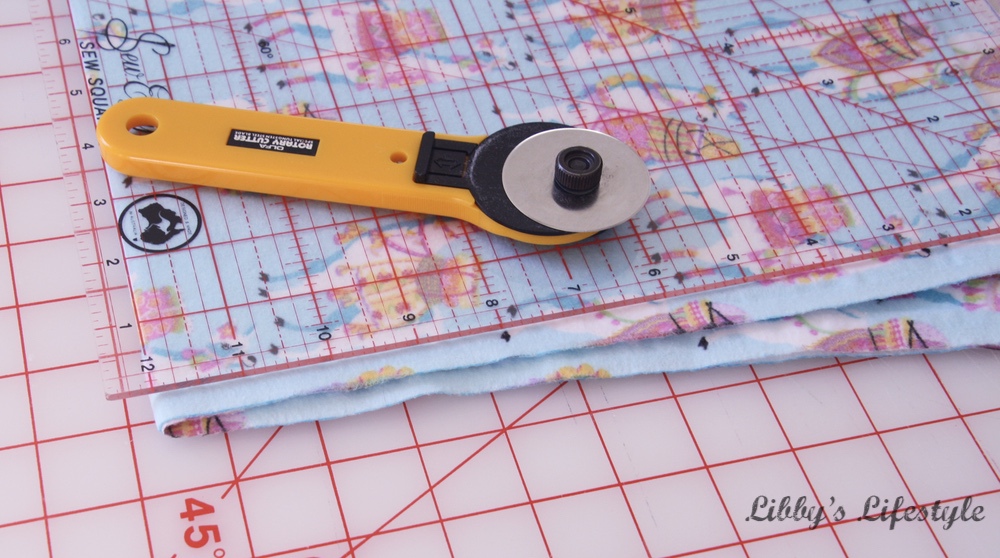
Square up the fabrics ...
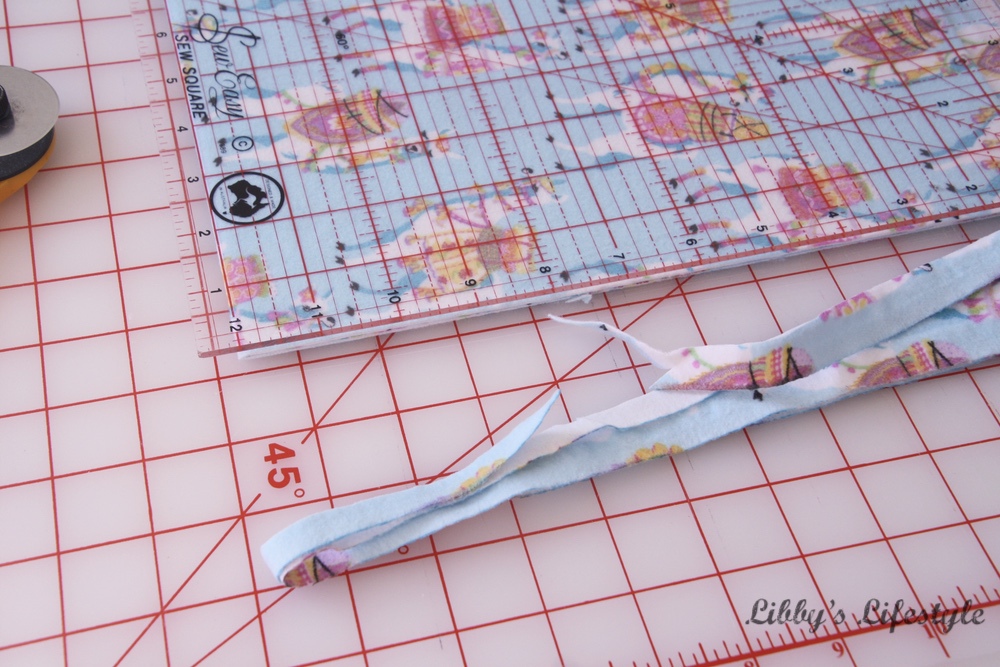
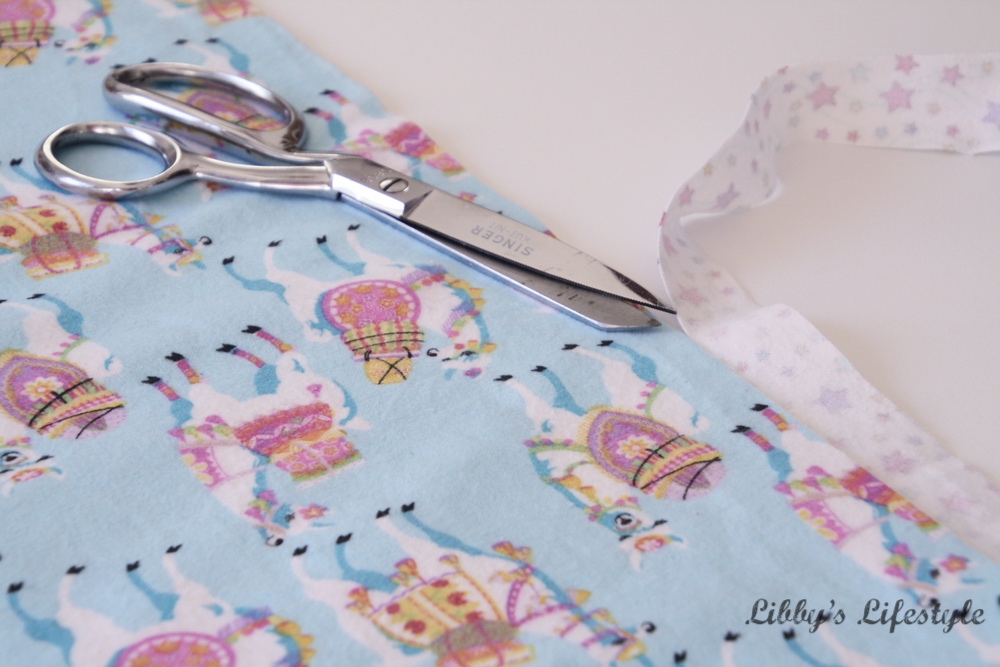
Firstly, remove the selvages from both sides and trim the remaining two edges of the fabric.Then place fabrics wrong sides together and trim to the same size.
Round the corners ...
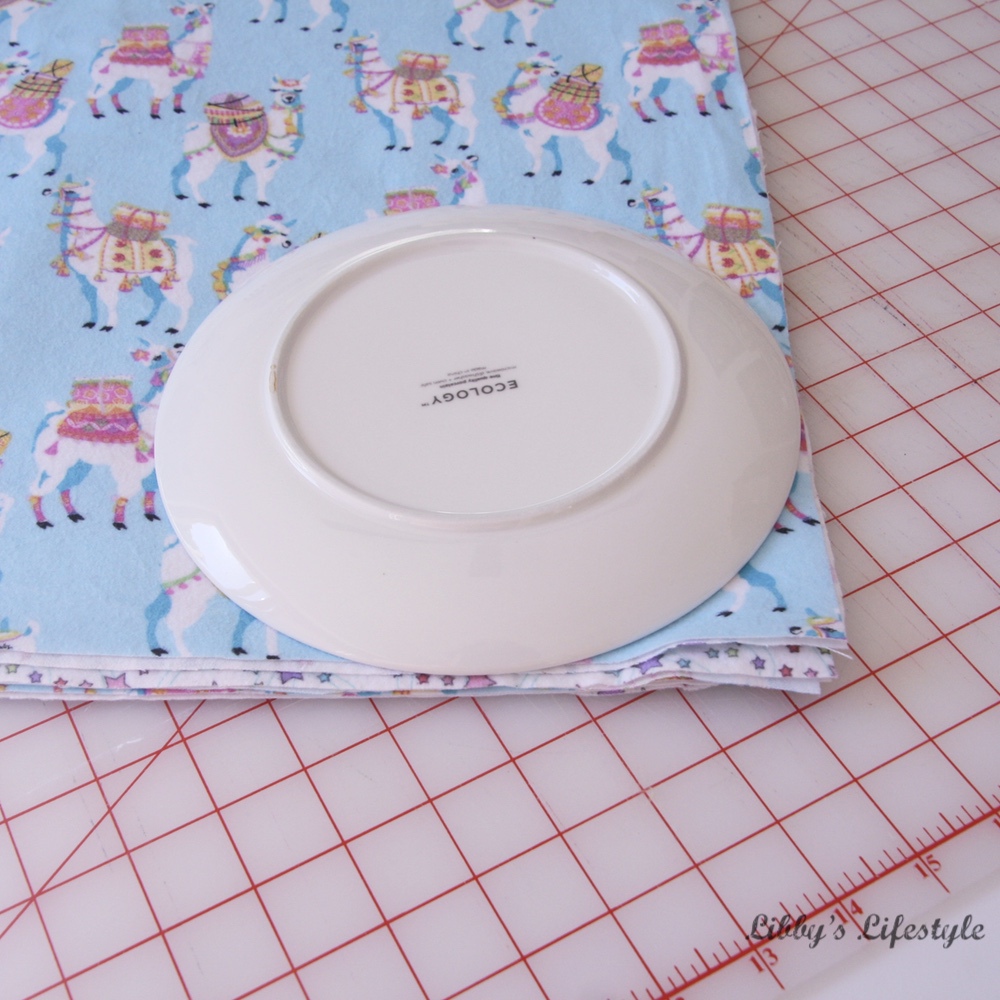
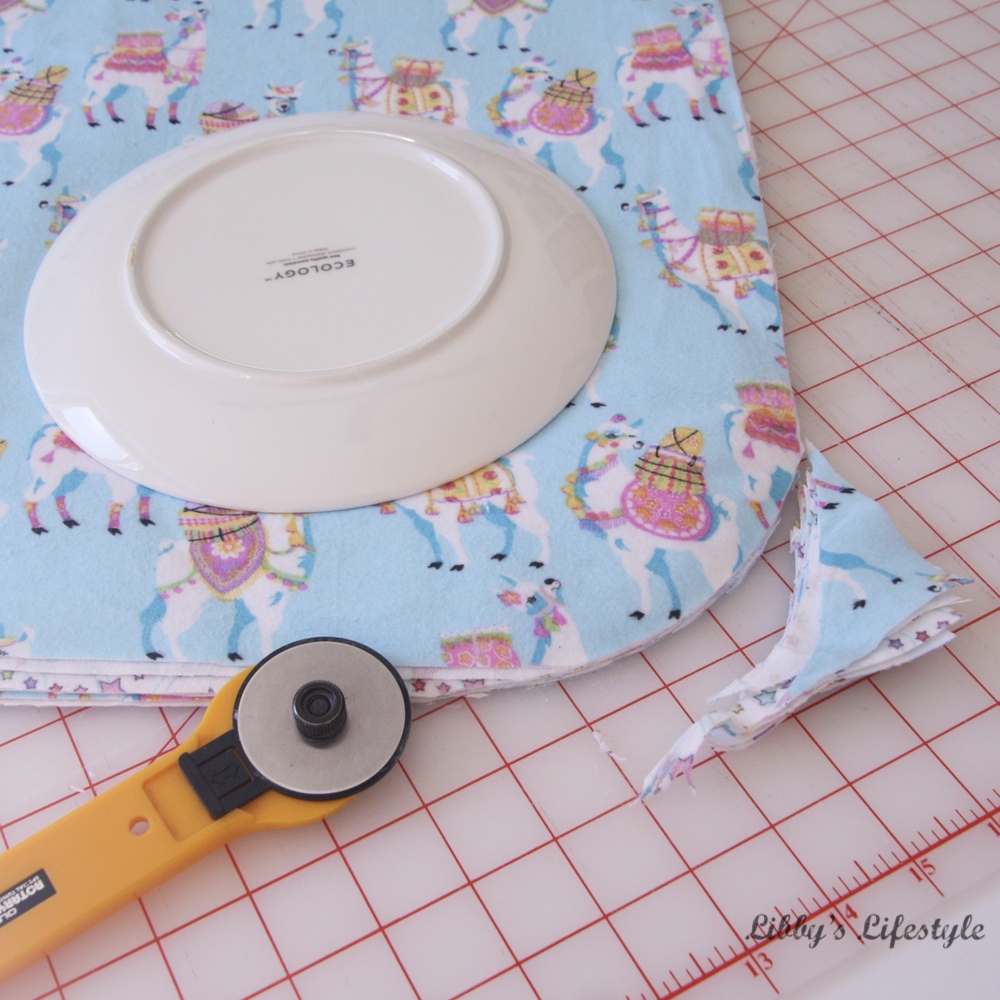
Fold the fabrics in half, then in half again, so all 8 cut edge corners are together, then, using a small plate as a guide, round the corners.Unfold and pin edges together every 12cm (5") or so.
I chose not to pin my fabrics together as the two flannels held together well.
Attach bias binding ...
I used some commercial bias binding I had in my cupboard.
(Usually I would make my own French fold bias binding out of cotton fabric as I prefer its slightly heavier weight. I find it sits much better than commercial double fold binding. AND I find it easier to work with.)
(Usually I would make my own French fold bias binding out of cotton fabric as I prefer its slightly heavier weight. I find it sits much better than commercial double fold binding. AND I find it easier to work with.)
If you've not attached bias binding before, don't be scared. It's not that hard to get a lovely neat finish stitching it completely by machine.
This is the technique which I find works really well.
Open out the bias binding and line up its raw edge with the edge of the flannel.
(You'll notice in my later photos I've joined two different colours of binding because that's what I had in my cupboard and because both worked with my fabric.)
There are lots of ways to join the two ends of the binding. I prefer to use a very simple technique that I would call the overlap method where you slide one end of the binding inside the other.
About half way through this blog tutorial, http://quiltingintherain.com/2011/05/binding-blind-stitching-tutorial.html, are some photos that clearly show how it is done.
It's a simple, no fail method.
If you prefer to stitch the ends of the binding together, this post, https://fabricfun-everythingquilts.blogspot.com/2008/10/joining-binding-tutorial-part-1.html, provides a simple method.
Once the two ends of the bias binding are joined by your preferred method, finish off stitching in the fold line so that the bias binding is attached all the way around the edge of the flannel.
Iron lightly.
Turn the bias binding over to the other side of the flannel.
Place the folded edge of the bias binding EXACTLY on top of the stitching line.
Pin the binding in place (or use magic clips).
Now it's time to sew.
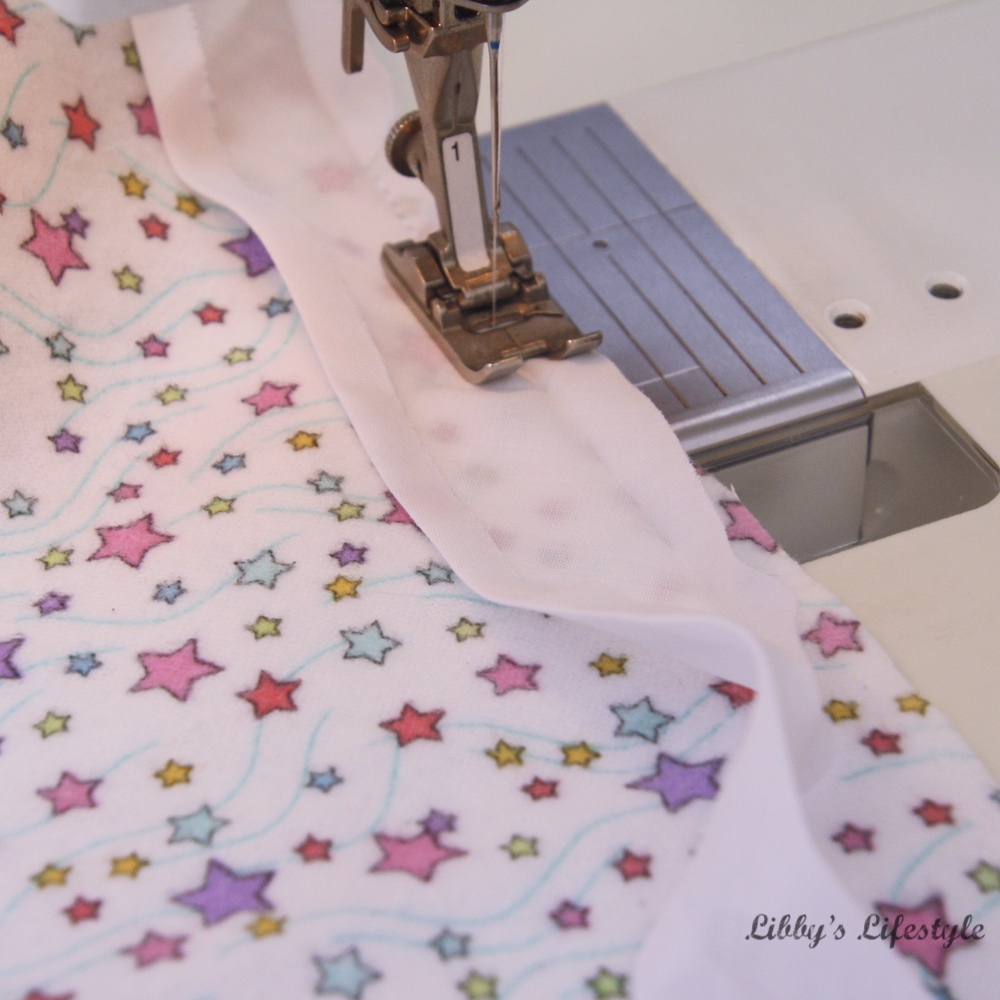
Move your needle TWO stops to the right. (I find two stops to the right much more forgiving than one.)
If you have an edge stitch foot, now is the time to use it! (I don't have one, but I use my Bernina #5 which does a similar job.)
Up the stitch length a little. (I use stitch length 3, but it will depend on your machine) and stitch the binding to the edge of the flannel. Keep checking that the edge of the binding is sitting EXACTLY on top of the stitching line.
Your final result should look like this on both sides of the binding.
If it's not perfect, don't be concerned. You really are the only one who will notice.
Once you've sewn all the way around, give your blanket a final iron and you are DONE.
THAT simple.
A quick and easy new born gift.
A couple of hours to complete.
Cutting and two rows of stitching.
Couldn't get much easier.
Let me know how you go making this for the new borns and mums in your life.
Catch up again soon
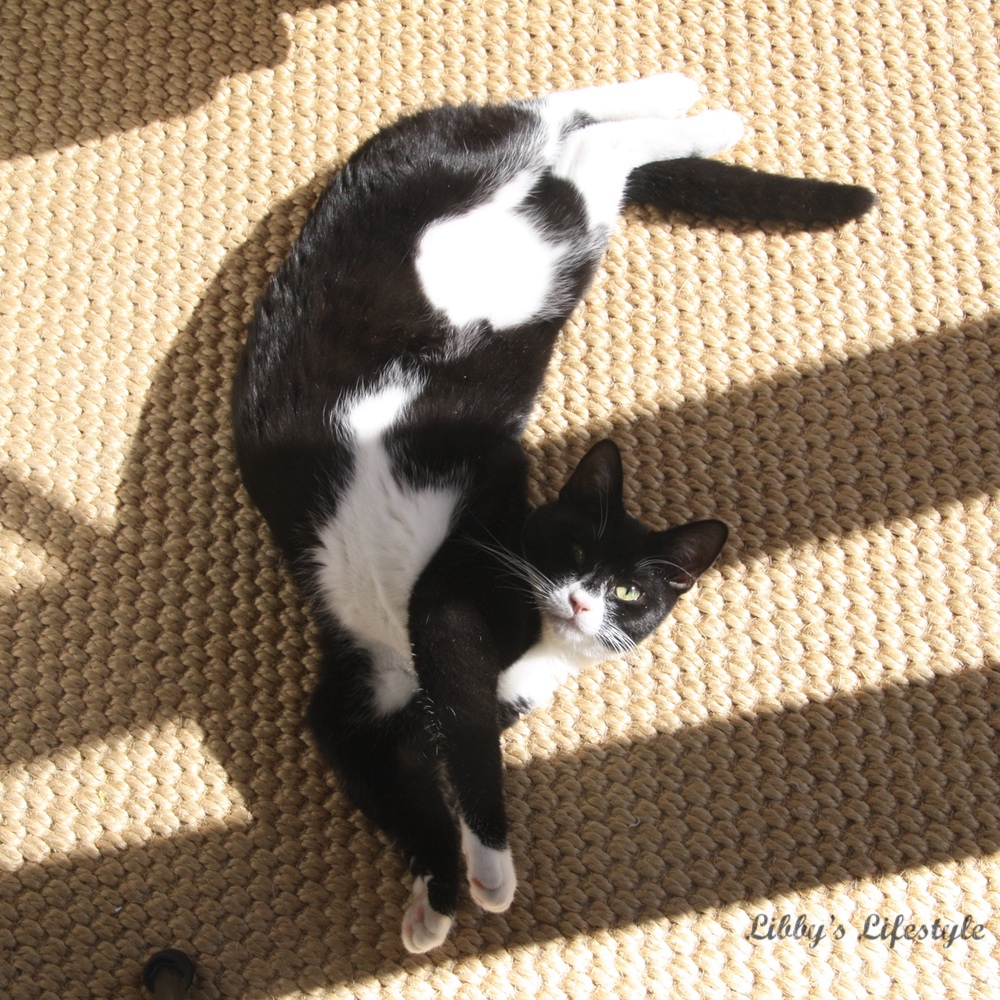
My little helper was rolling around in the sunshine while I sewed. He's a bit of a contortionist at times.











Social Icons